Granite Countertop Installation
PART II - New Venetian Gold Granite Pictures
Part II of the granite countertop installation process and how it all came together.
| 1. Granite Arrives |
2. Bringing Granite In |
3. Granite Installation |
 |
 |
 |
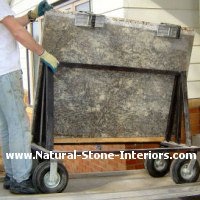
- 1. Granite Arrives - An a-frame was used to support the stone and to haul it vertically.
- 2. Bringing Granite In - This little cart saves a lot of back breaking! It's nice to roll the stone in on a
cart rather than carry it. Granite should be carried or hauled vertically. If it's hauled horizontally, the weight of the stone could break it
or snap it in half.
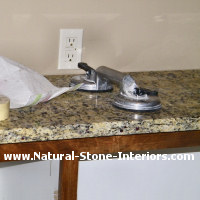
- 3. Granite Installation - Suction cups are used to make it easier to hang onto. Also, it was easier for three
guys to lift the stone and roll it up and onto the cabinets.
| 4. Drying The Seam |
5. Taping The Seam |
6. Extreme Seam Closeup |
 |
 |
 |
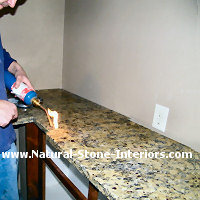
- 4. Drying The Seam - It was really cold out, the stone was sweating... out came the blow torch to dry and warm
up the stone. If it's too wet or cold, the epoxy takes forever to dry & it makes for a weak seam.
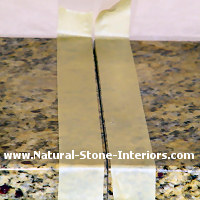
- 5. Taping The Seam - Masking tape was put on both sides of the seam to make it easier to clean up any excess
epoxy. The tape also raises the epoxy slightly above the stone so that when it's razed off, a nice smooth finish is left behind. This means a
nice clean seam. ;-)
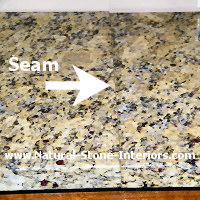
- 6. Extreme Seam Closeup - The finished seam... this is an extreme closeup.
| 7. Taping Along Edges |
8. Filling With Colored Silicone |
9. Closeup |
 |
 |
 |
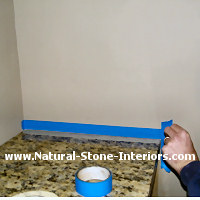
- 7. Taping Along Edges - The wall and edge of the stone was taped to keep the silicone off of the wall and off of the
stone. It just makes it easier and quicker to clean up.
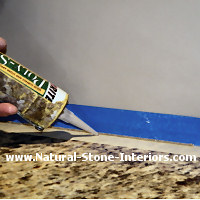
- 8. Filling With Colored Silicone - Anywhere there wasn't a back splash, a colored silicone by Poly-sil was
used. This 100% silicone is colored and matches the granite nicely. It's really easy to use too.
- 9. Closeup - Look, you can barely see it!
| 10. Silicone Sink |
11. New Venetian Gold Granite |
12. Upper Bar Area |
 |
 |
 |
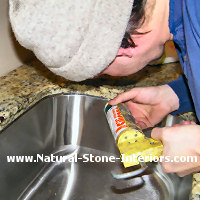
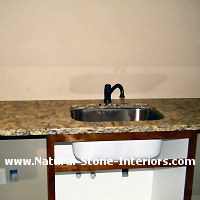
- 10. Silicone Sink - After the sink was installed, a clear bead of 100% silicone was applied between the sink
and the granite. Prevents leaks. After the bead was in place, it was sprayed with denatured alcohol and then smoothed with a finger. The
denatured alcohol keeps the silicone from sticking to anything!
- 11. New Venetian Gold Granite - The finished granite countertop installation.
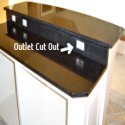
- 12. Upper Bar Area - The upper bar area... no seams here!
Here's MORE Granite STUFF:
Return from Granite Countertop Installation - Part II
to Granite Installation - Part I
Return from Granite Countertop Installation Part II to
Natural Stone Interiors Home


